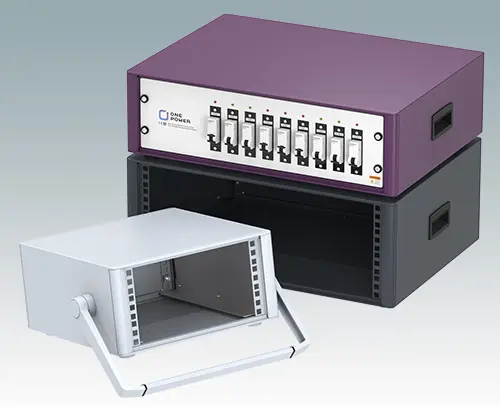
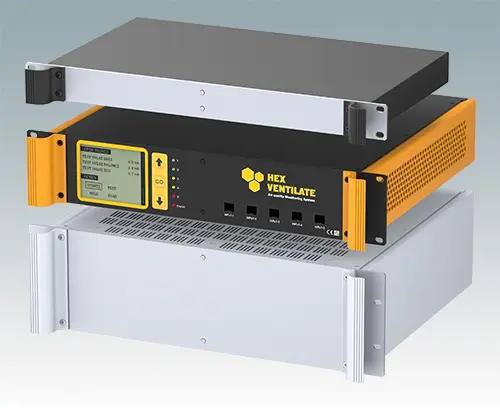
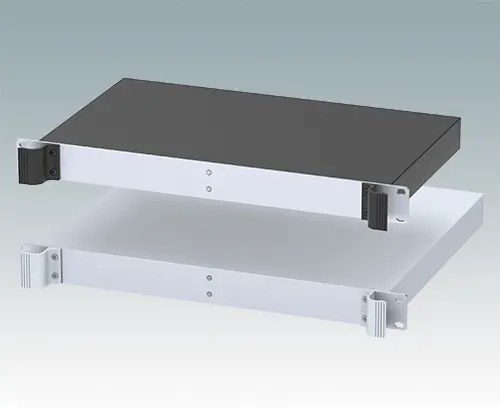
 19" Enclosures

-
Enclosures
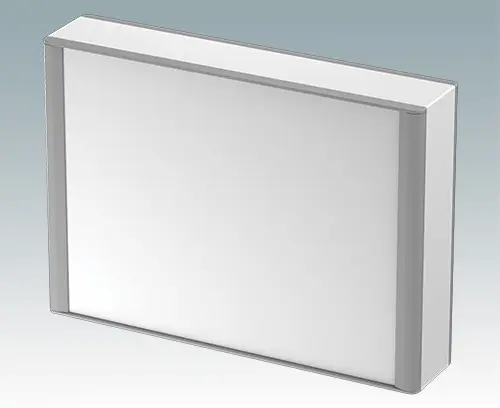
Enclosures Electronic enclosures | 19 inch rack mount enclosures
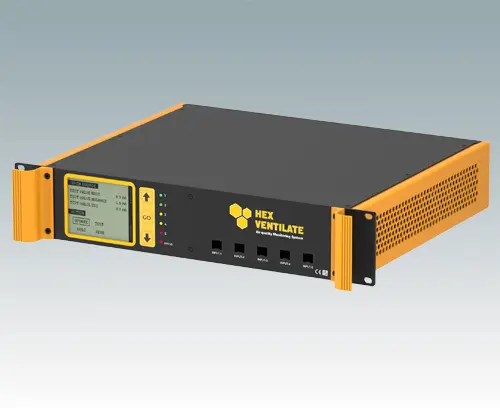
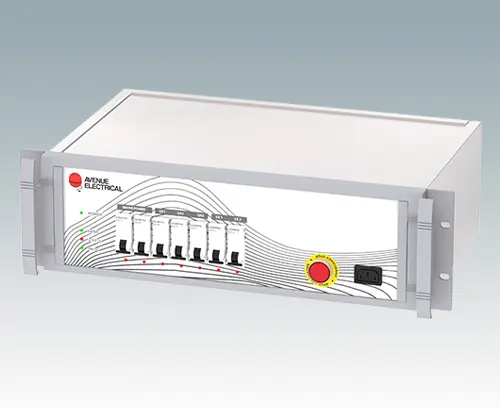
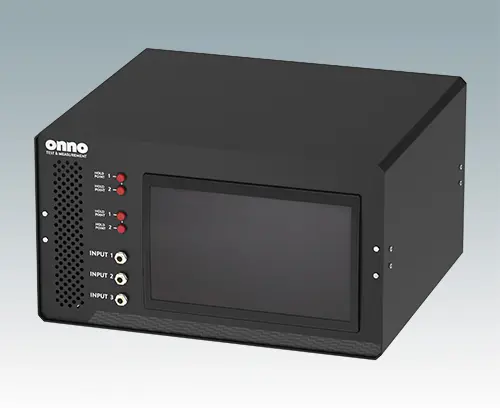
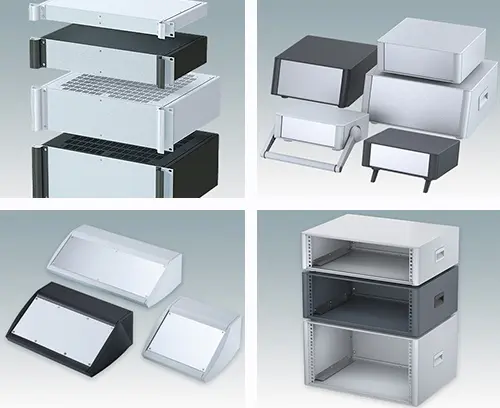
Versatile range including desktop enclosures; small instrument cases; portable enclosures with bail arms; 19" rack mount enclosures and wall mount enclosures.
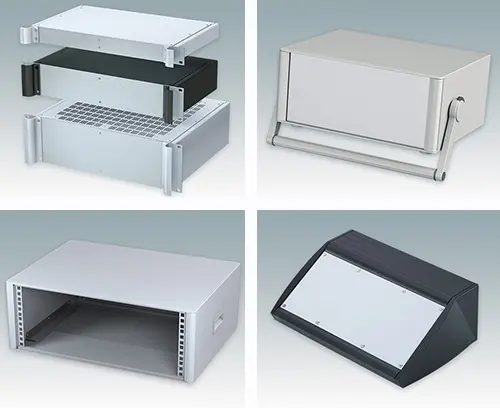 Metal Enclosures Modern metal enclosures for OEM electronics equipment
For desktop, wall mount, portable and 19" rack mounted electronics equipment. All manufactured from high quality aluminum.
-
Accessories
Accessories Accessories for METCASE electronic enclosures and others
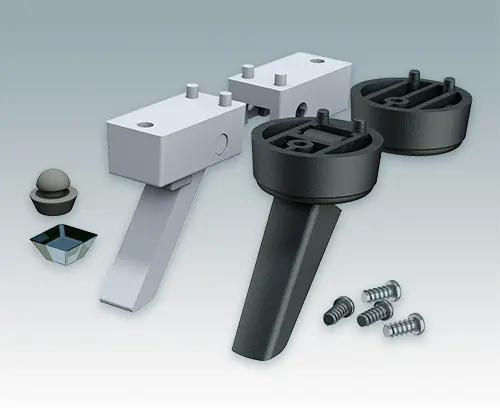
View the extensive range of accessories: 19" front panels, handles, enclosure feet kits, PCB guides and fixings.
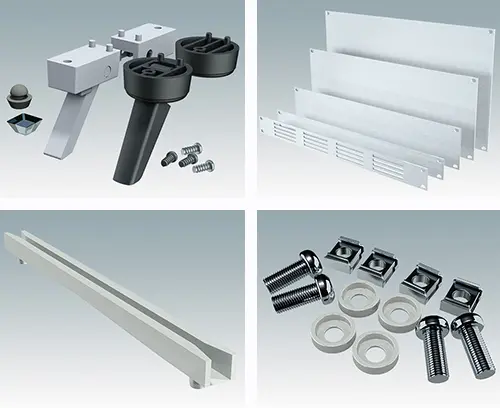
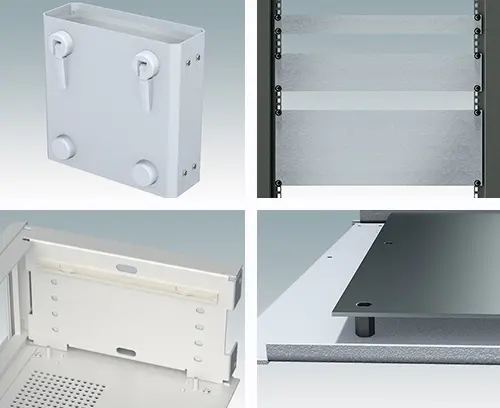 Accessories for Enclosures Extensive range of universal accessories
19" front panels, handles, enclosure feet kits, PCB guides and 19" mounting kits.
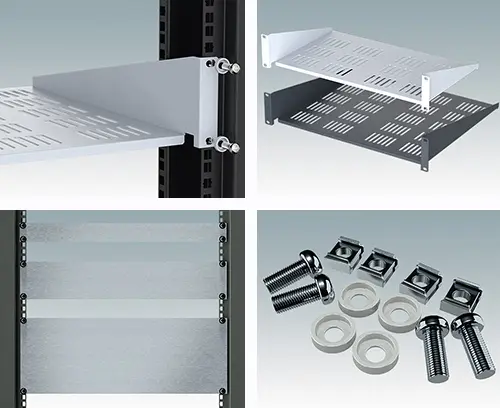
 Accessories for 19" Racks Universal accessories for 19" equipment
Range of universal 19" rack shelves, 19" front panels and fixings.
-
Custom Enclosures
Custom Enclosures Customized enclosures for OEM Electronics
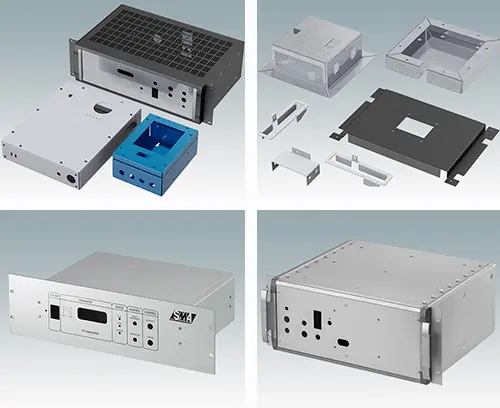
We can supply fully finished custom electronic enclosures with all the necessary modifications for mounting your PCBs, displays, connectors and other components.
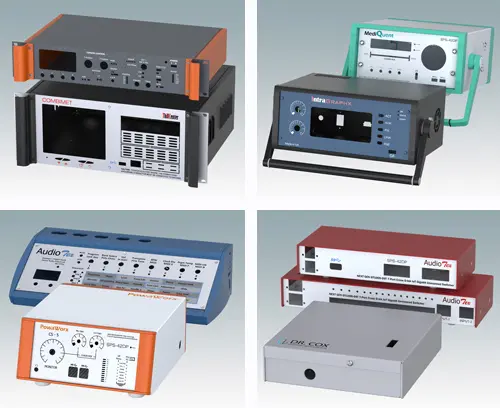 Modifications & Finishing All the customizing services you need
Our manufacturing site is equipped with all the equipment required to produce fully finished enclosures and front panels - ready for mounting your electronic components.
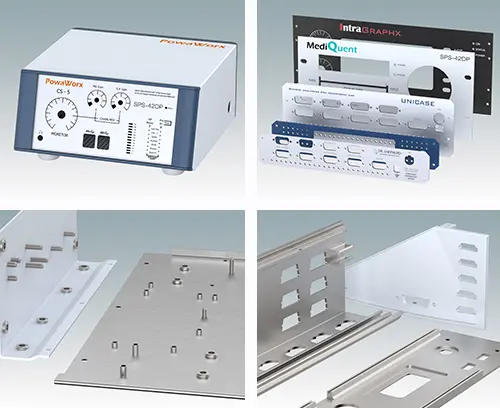 Bespoke Enclosures Bespoke metal enclosures and sheet metal parts
Fully bespoke electronic enclosures can be created using our standard case components such as diecastings and extrusion profiles or from fully fabricated sheet metal components.
-
News
News
Full details about all our new products and services along with company news.
 Press Releases
Read our latest company press information and our complete press releases archive.
 Blog
BlogOur blogs cover industry trends, how to's, customer applications, FAQs, international product standards and details about our new products and services.

-
About Us
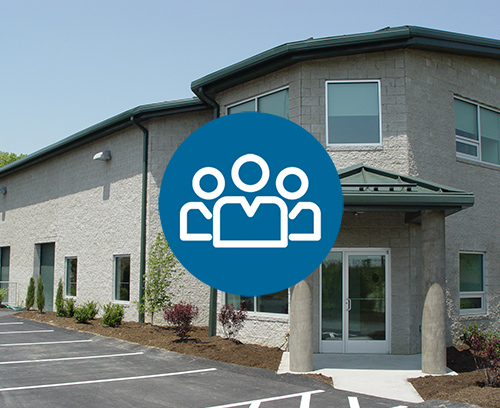
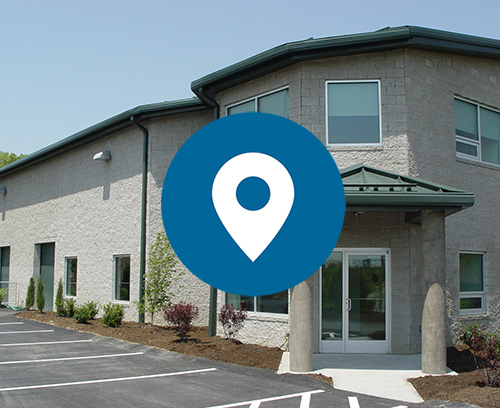
METCASE North AmericaOKW Enclosures, Inc. is the North American representative for METCASE Enclosures. We are based in Bridgeville, Pennsylvania.
-
Technical Info
Technical InformationHere can you download our datasheets, certificates, REACH, RoHS & WEEE statements, assembly instructions and catalogs.
 HOW TO DOWNLOAD DRAWINGS
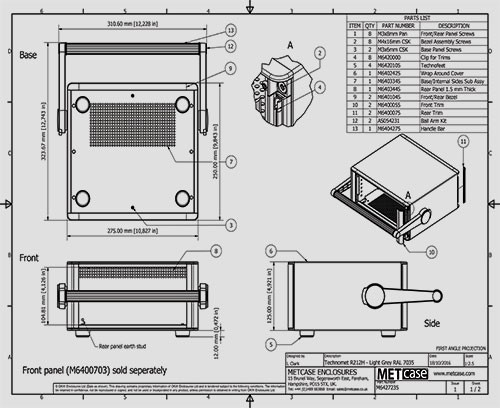
Download our drawings in 2D (PDF, DWG, DXF) and 3D (x_t, step, sat) formats.
 FREQUENTLY ASKED QUESTIONS (FAQ)
Useful resource for answering questions about specifying our enclosures, services and more.
 HOW TO SPECIFY CUSTOM METAL ENCLOSURES
Comprehensive guide to specifying customised or fully bespoke metal enclosures from METCASE
 REACH Statement
We are committed to meeting our legal obligations under REACH. Read our statement here.
 ROHS / WEEE Directives
Statement regarding our product compliance with RoHS and WEEE directives.
 Discontinued Products
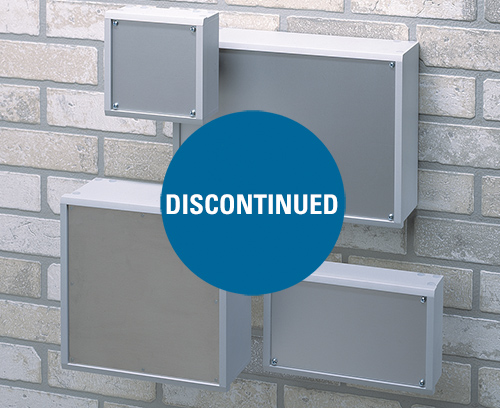
If you cannot find a product on our website, check here to see if it has been discontinued.
-
Ordering
Ordering InformationFull information on placing an order, getting a quotation or sample, delivery charges, payment terms and typical delivery times.

-
Contact
Contact METCASEFull contact details and meet our team. Plus how to make an enquiry or request a quotation and/or a sample.
 General Inquiries Form
Use our contact form for general inquiries and requests for information, and to upload your documents and pictures.
 How To Find Us
Travel information if you are visiting our US office in Bridgeville, PA.
 Worldwide Sales Network
Here you can find your local OKW contact. We have subsidiaries in 8 countries and long-standing sales partners worldwide who are ready to help you.